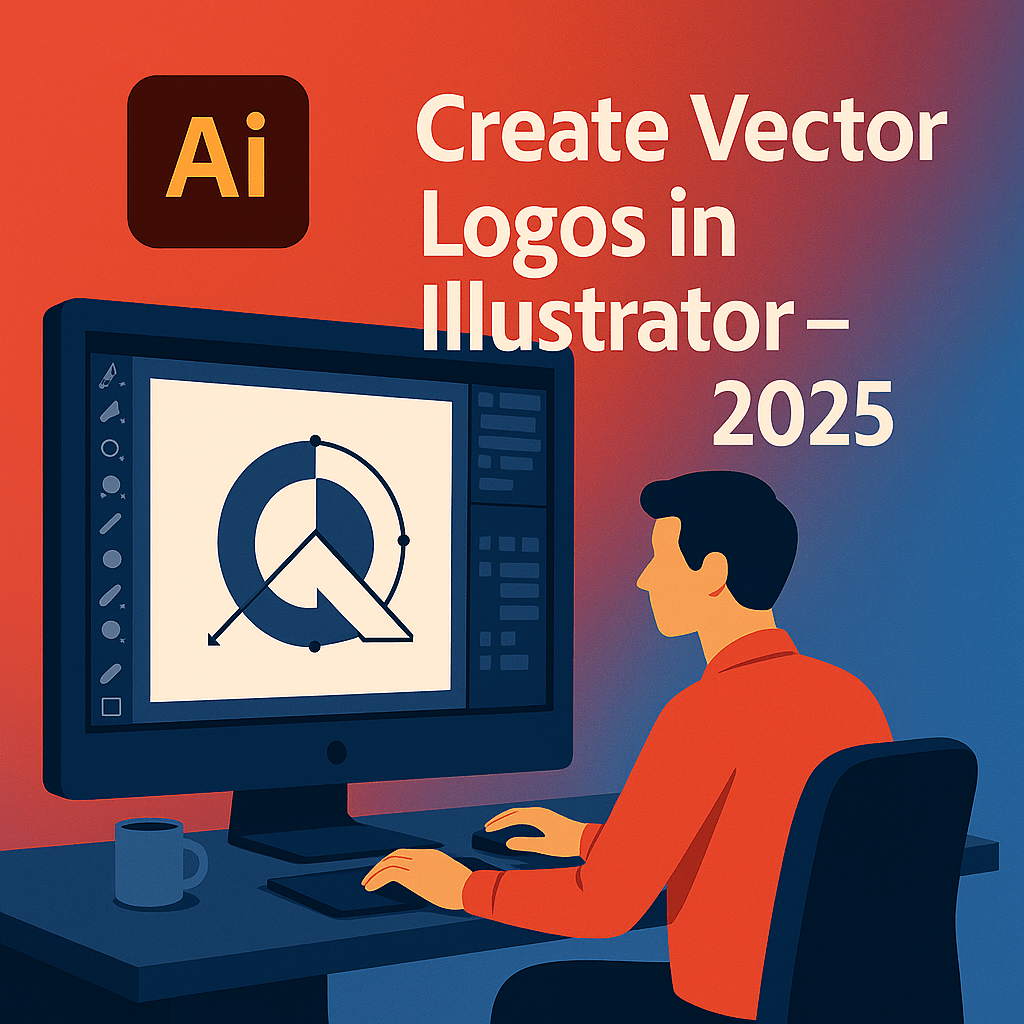
Logos need to be scalable, clean, and professional—and that’s why designers use Adobe Illustrator. Unlike raster images, Illustrator creates vector graphics that can be resized infinitely without losing quality. In this 2025 beginner’s tutorial, you’ll learn how to create your first vector logo in Illustrator.
1. Setting Up Your Workspace
- Open Illustrator and create a new document (choose RGB for digital, CMYK for print).
- Set your artboard to a square size (e.g., 1000x1000px) for logo design.
- Familiarize yourself with the Tools Panel on the left and Layers Panel on the right.
2. Sketch Your Logo Concept
- Start with a rough sketch on paper or use the Pencil Tool to draw directly in Illustrator.
- Import sketches by placing a scanned image and tracing over it.
💡 Tip: Keep your design simple and versatile.
3. Use Basic Shapes
- Logos often start with simple shapes (circles, rectangles, polygons).
- Use the Shape Builder Tool (Shift+M) to merge or cut shapes.
- Align and distribute shapes using the Align Panel.
4. Add Text
- Select the Text Tool (T) to add your brand name or initials.
- Choose clean, professional fonts from Adobe Fonts.
- Adjust kerning and spacing for balance.
5. Apply Colors & Gradients
- Use your brand’s color palette or experiment with Adobe Color themes.
- Apply gradients or flat colors for a modern look.
- Test your logo in both color and black-and-white for versatility.
6. Export Your Logo
- Save your editable file as .AI.
- Export for web as .SVG or .PNG (transparent background).
- Export for print as .PDF or .EPS.
Conclusion
Adobe Illustrator makes professional logo design accessible—even for beginners. By combining shapes, text, and colors, you can create a logo that’s clean, scalable, and brand-ready in 2025.
👉 Start designing today: Get Adobe Illustrator with a free 7-day trial and create your own vector logo.