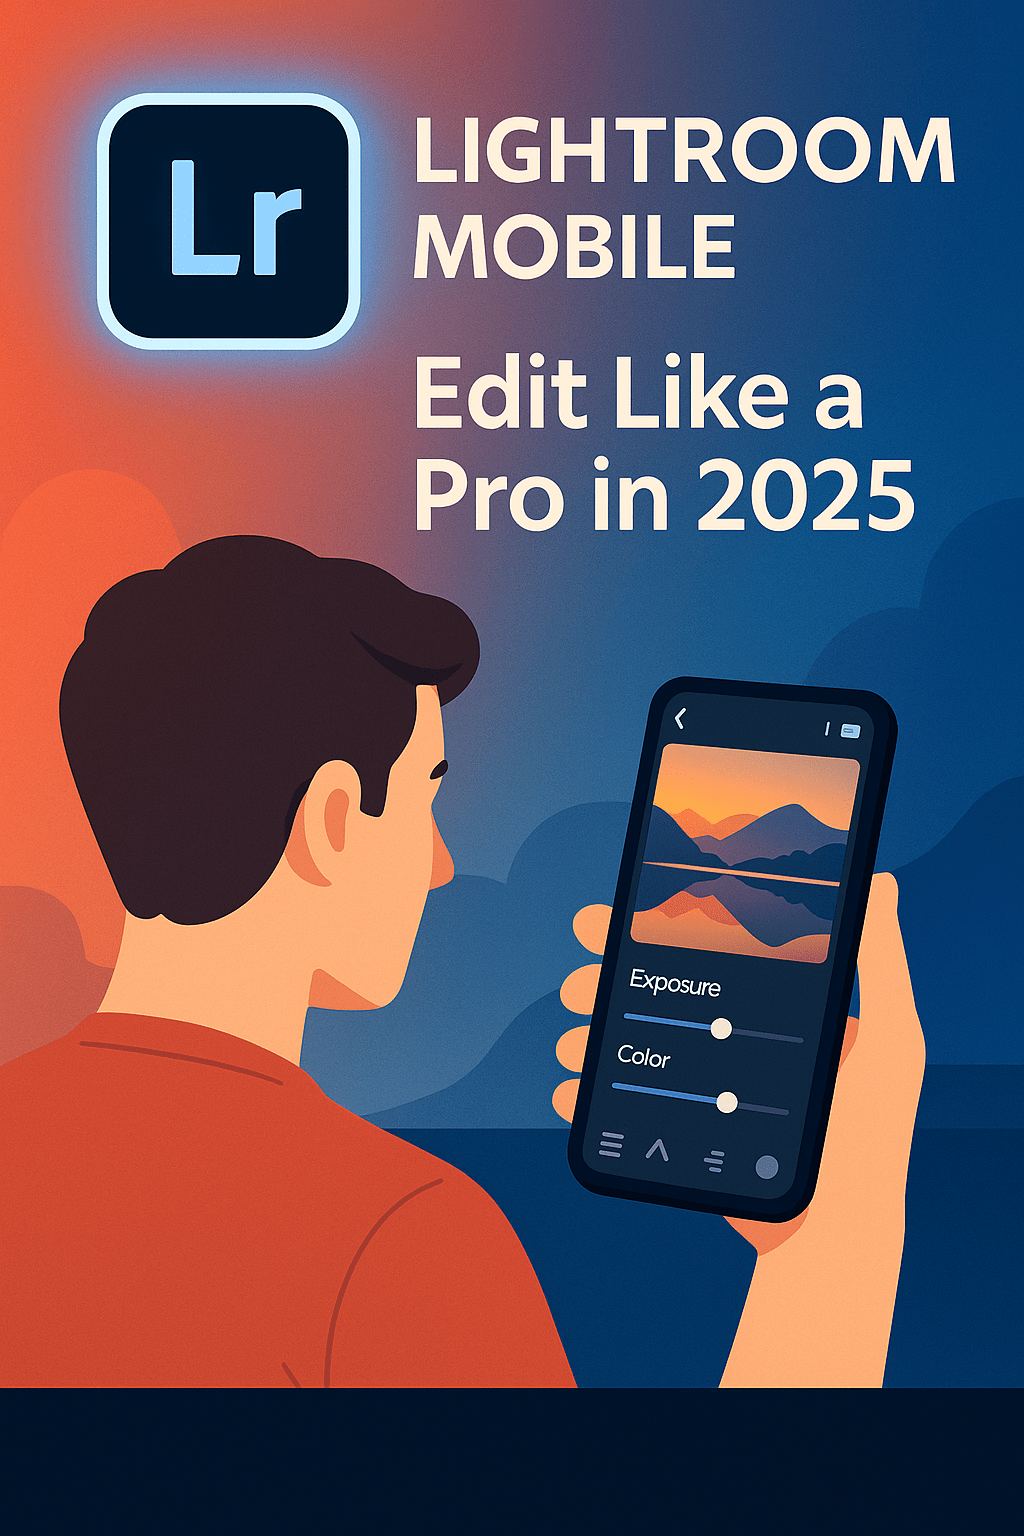
Gone are the days when professional editing required a desktop. In 2025, Lightroom Mobile lets photographers edit high-quality photos right on their phones. With AI-powered tools, cloud sync, and presets, it’s become an essential app for photographers on the go. Here’s how to use Lightroom Mobile to edit like a pro.
1. Getting Started with Lightroom Mobile
- Download Lightroom from the App Store or Google Play.
- Sign in with your Adobe ID (included in the Photography Plan).
- Import photos from your phone, camera roll, or Creative Cloud.
2. Core Editing Tools
- Light Panel: Adjust exposure, contrast, highlights, and shadows.
- Color Panel: Change temperature, tint, vibrance, and saturation.
- Detail Panel: Sharpen and reduce noise for cleaner images.
- Crop Tool: Reframe and straighten shots.
3. Using Presets on Mobile
- Access the same presets from Lightroom desktop.
- Apply with one tap for consistent edits.
- Use the new adaptive presets that adjust differently for skies, portraits, or objects.
4. AI Features in 2025
- AI Masking: Automatically select people, skies, or backgrounds.
- Generative Fill (Firefly): Replace or expand elements directly on mobile.
- Auto Enhance: One-tap smart corrections.
5. Sync Across Devices
- Edits made on mobile sync instantly to desktop and tablet.
- Cloud storage ensures you can access your photos anywhere.
Conclusion
In 2025, Lightroom Mobile is a professional-grade photo editor in your pocket. With presets, AI-powered tools, and seamless cloud syncing, it’s the perfect companion for photographers on the go.
👉 Try Lightroom on your phone: Get the Adobe Photography Plan free for 7 days and start editing anywhere.